
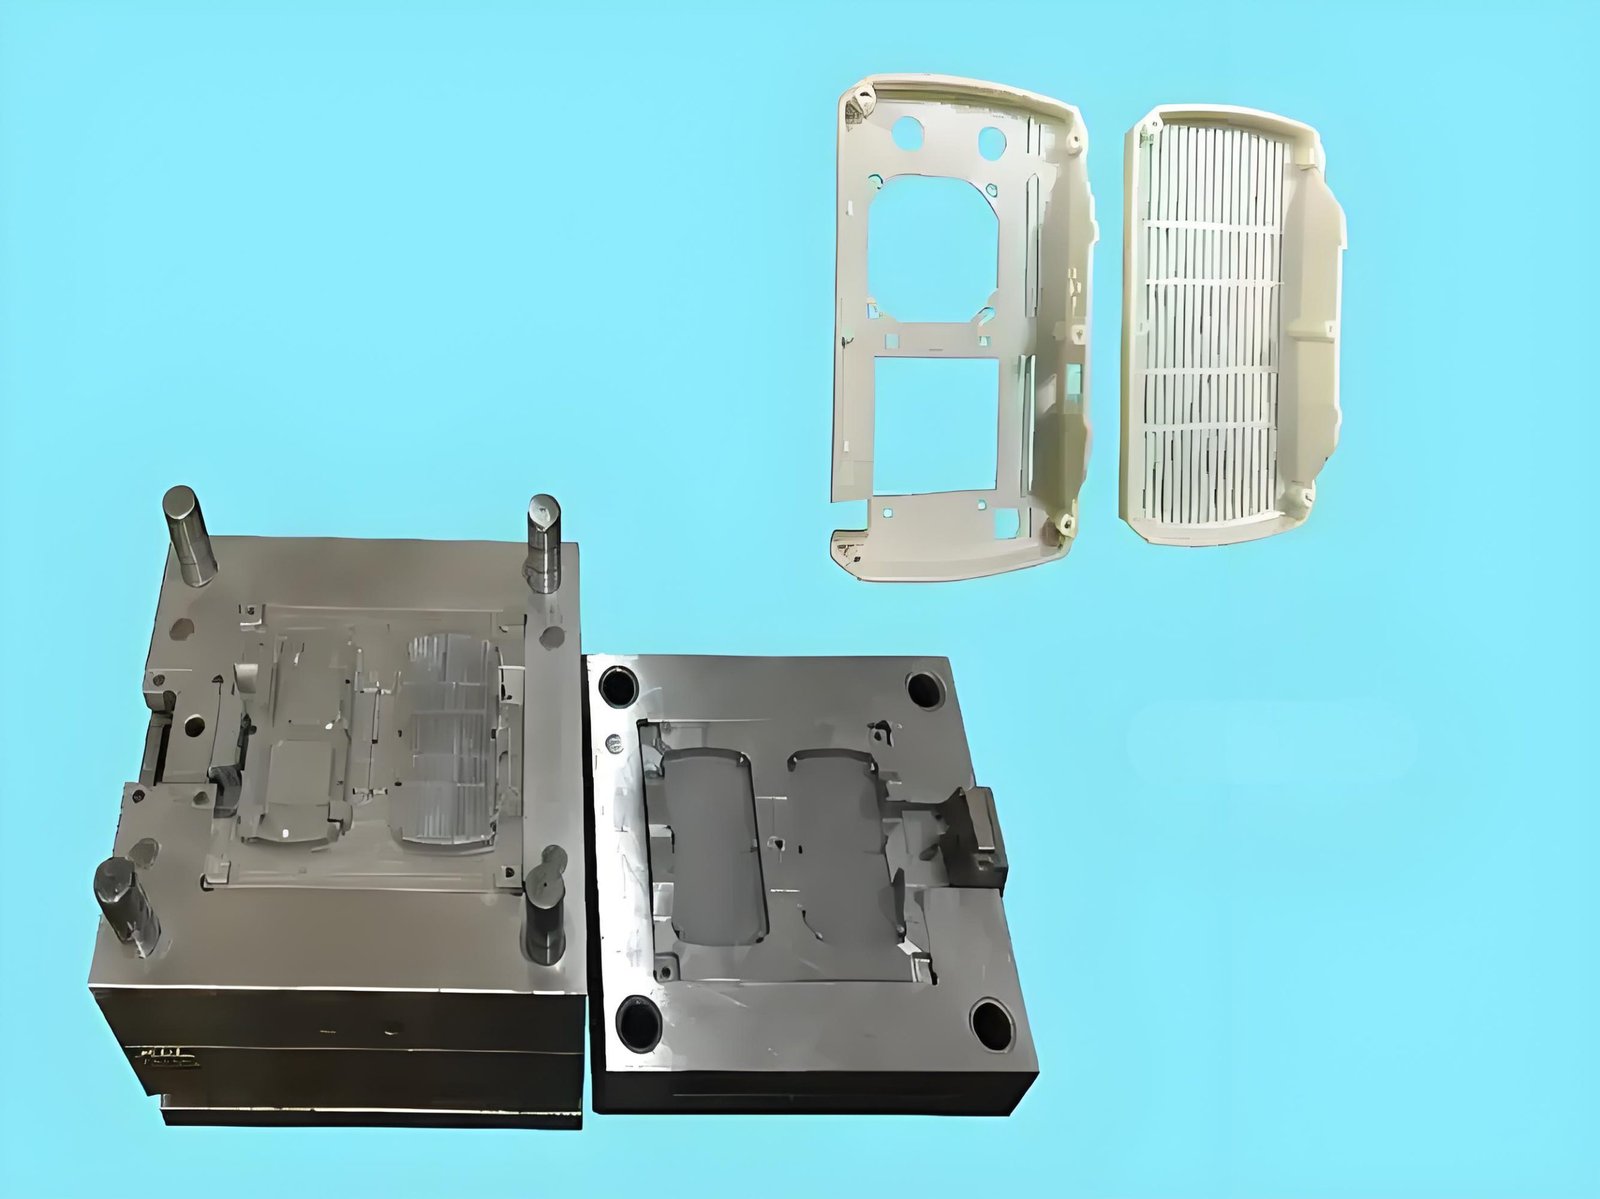
Demolding means releasing and removing a formed part from its mold. In thermoplastic injection molding, it takes place after the part has cooled enough to withstand removal: the mold opens, any trapping features clear, and ejectors or another release system separate the part from the tool.
Demolding is more than applying ejector force. The part must leave without unacceptable deformation, cracks, drag marks or damage to its functional surfaces. Cooling, shrinkage, draft, texture and the ejection layout work together to determine whether that happens.
What Is Demolding?
Demolding is the complete part-release stage. Ejection is the action used to separate the part from the mold; removal is the subsequent handling by a robot, operator or gravity. Thermoset processes such as liquid silicone rubber molding instead require sufficient cure before release, so their timing should not be copied from a thermoplastic cooling cycle.
The part does not have to reach room temperature before ejection. It needs sufficient stiffness and an acceptable thermal state for its geometry and handling method. BASF's cooling-time guidance highlights the effects of part geometry, shrinkage, friction and ejector design; temperature alone is not a complete release criterion.
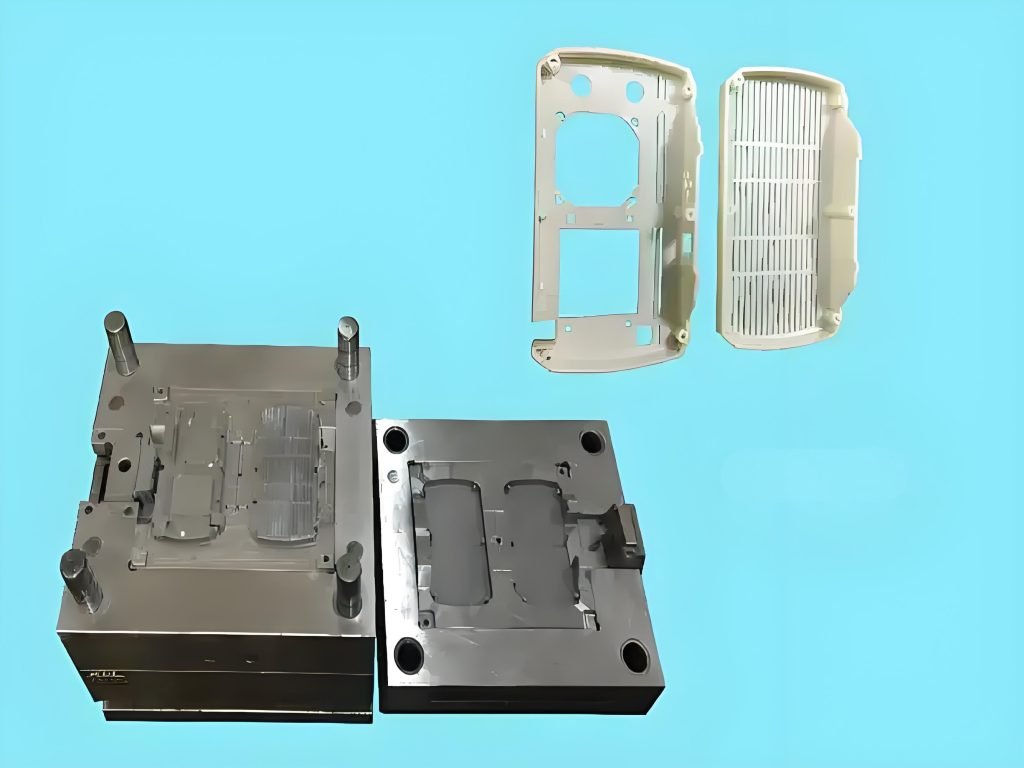
Key Steps in the Demolding Process
- Cool to the validated release condition. The molded section must be able to withstand the forces and handling involved. Check thick regions and features that are still softer than the surface suggests.
- Open the mold in the intended sequence. The part should remain on the half containing its release system. Slides, cores or lifters must clear undercuts as required by the tool design.
- Release with controlled support. Pins, sleeves, stripper plates or other mechanisms apply force in suitable locations. Their motion should not punch through, bend or twist the part.
- Remove and support the part. Clear the mold and any runner, and support flexible or warm sections if needed. Check gate and ejector witness areas against the drawing.
- Return the mechanisms. Verify ejector and side-action positions before the mold closes for the next cycle.
See how the complete injection molding cycle works for the relationship between filling, packing, cooling and release.
Common Demolding Challenges
| Symptom | Possible contributors | What to review |
|---|---|---|
| Part sticks on the core | Insufficient draft, shrink grip, an undercut, surface damage or a vacuum effect. | Pull direction, geometry, surface condition and air-release provisions. |
| White stress marks or cracking | High local release force, inadequate support or a weak section. | Ejector placement and contact area, draft and release sequence. |
| Ejector indentation | A hot/soft section or excessive local force. | Cooling, supporting wall thickness, pin area and motion. |
| Drag marks | Texture or machining marks resisting the release direction. | Draft and texture together; check for burrs and damaged surfaces. |
| Warping after release | Uneven cooling, residual stress or unsupported handling. | Temperature distribution, process history and post-ejection support. |
The same mark can have several causes. Record where it occurs and compare parts from individual cavities before changing multiple settings. More force or extra release spray may hide the symptom without resolving the mold-design issue.
Best Tips on Effective Demolding
Design draft and texture together
Draft gives a wall clearance as the part moves out of the mold. Required draft depends on depth, resin, shrinkage and finish. A smooth shallow surface and a deep textured wall need different treatment; there is no universal angle for every part. Protolabs' draft guidance illustrates why texture and deep features need particular attention.
Balance cooling with release force
Shorter cooling can leave the part too soft to eject cleanly. Longer cooling is not a universal cure either: shrinkage onto a core and the mold's thermal balance still matter. Establish the release condition through trials using the chosen resin and the actual part, then include it in the process controls.
Choose contact locations and sequence deliberately
Spread force over areas that can support it and agree where witness marks are acceptable. Sleeves or stripper systems can suit features where point loading is undesirable. Our ejector pin versus sleeve comparison explains the component choices.
Check release agents against the final use
A release agent can change adhesion, printing, coating or cleanliness performance. Confirm compatibility with the resin, downstream operations and end-use requirements before introducing one; do not make it the default substitute for adequate draft and mold maintenance.
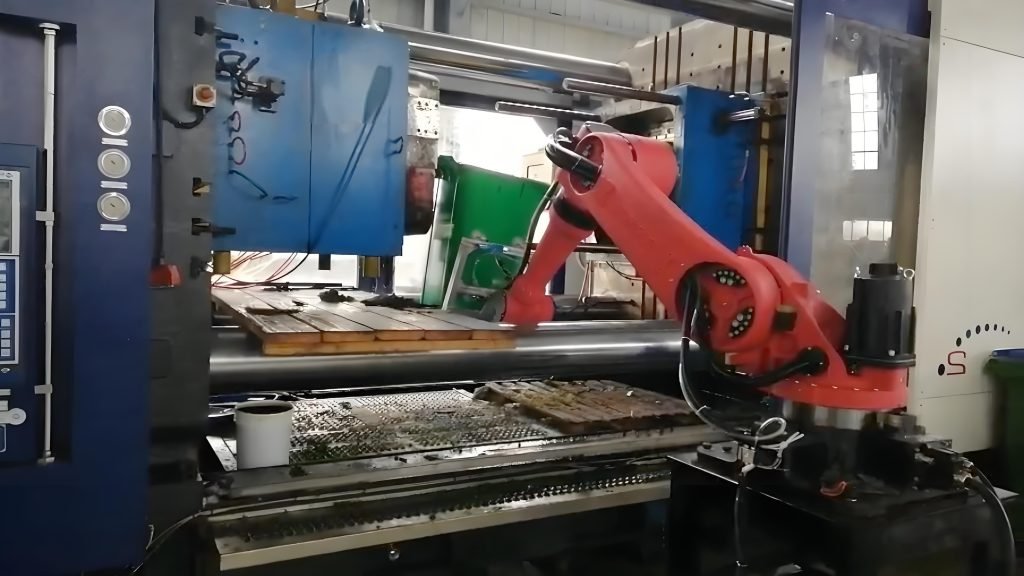
What to Validate in a Demolding Trial
Inspect the part immediately after ejection and again after the defined conditioning period. Record cosmetic marks, critical dimensions, distortion, cavity identity and relevant process settings. A fast release is useful only when the parts still meet acceptance requirements.
Feed those observations back into mold design and tooling before production release. For a new component, agree draft, gate location, ejector contact and handling requirements during the injection molding DFM review.
Demolding FAQ
What is the difference between demolding and ejection?
Demolding describes the whole release and removal stage. Ejection is one action within that stage, usually performed by pins, sleeves or a stripper mechanism.
Why does a part stick even with ejector pins?
Ejector pins supply force; they do not remove an undercut or create missing draft. Review geometry, finish, shrink grip and the mold sequence before increasing force.
Can a part be demolded without draft?
Some designs use special mechanisms or carefully validated release methods, but zero-draft walls increase difficulty. Assess feasibility for the actual resin, surface and feature depth.
How long should a part cool before demolding?
There is no single time. Wall sections, resin properties, mold temperature, cooling layout and ejection loads determine the required release condition.