| Machine tonnage = the clamping force that holds the mold shut during injection. To find the right number: multiply the projected area (in²) by a material-specific factor (2.0–5.5 tons/in²), then add a 10–15% safety margin. Round up to the nearest standard machine size. |
Getting tonnage wrong costs money in two directions. Too little and the mold flashes — excess plastic bleeds out at the parting line. Too much and you crush the vents, overstress the tool, and waste energy on every cycle. Neither problem shows up on a drawing; both show up at the press.
This guide walks through the calculation step by step, with a material reference table and a complete numerical example.
What Is Tonnage in Injection Molding?
Tonnage in injection molding is essentially the clamping force needed to keep the mold closed during the injection of plastic material. This force is measured in tons or metric tonnes and represents the machine’s capacity to resist the separating force created during the injection process.
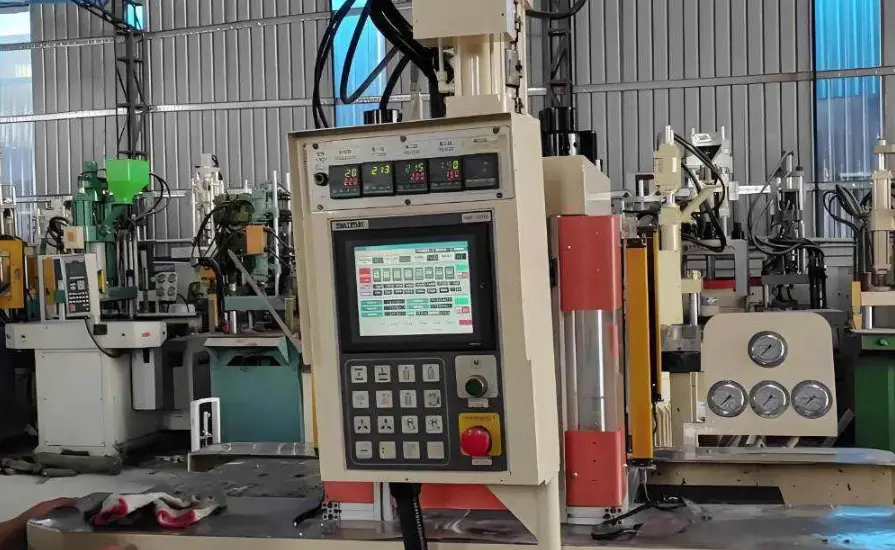
The clamping force is generated by the machine’s hydraulic or mechanical systems, toggle mechanisms, and platen design, all working together to ensure that the mold remains closed.
The clamping unit of an injection molding machine works in conjunction with the injection unit to create a balanced system that produces high-quality parts. The tonnage required for a specific project depends on various factors, including the size of the part, the material being used, and the design of the mold.
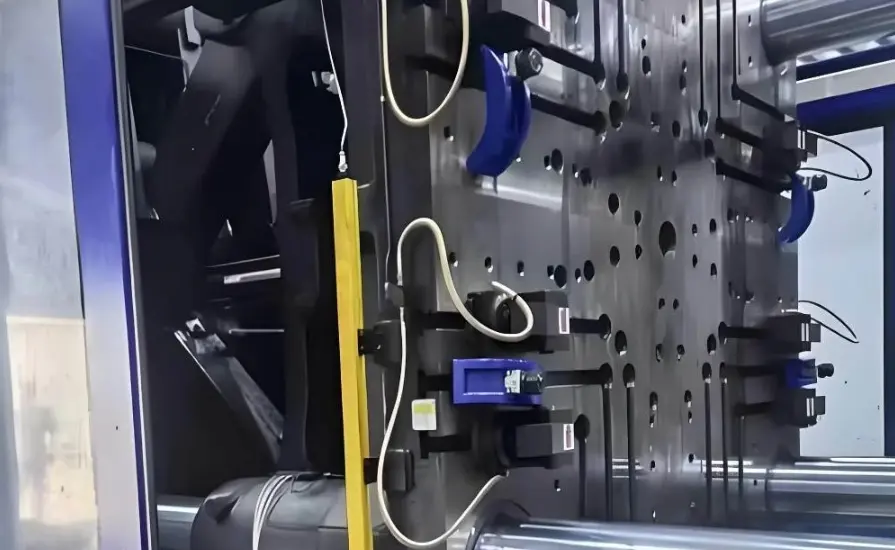
Key Components of Clamping Force
The clamping force in an injection molding machine is generated by several key components. These include the machine’s hydraulic or mechanical systems, which provide the necessary force to keep the mold closed. The toggle mechanisms and platen design also play crucial roles in generating and maintaining the clamping force. Together, these components ensure that the mold remains shut during the injection process, allowing for the production of parts with precise dimensions and minimal defects.
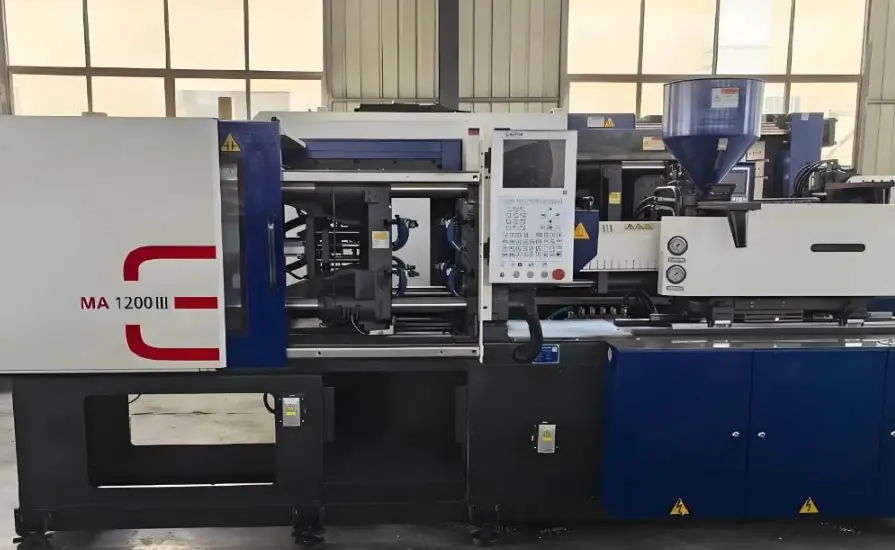
The Relationship Between Tonnage and Machine Size
There is a direct relationship between the tonnage requirements of a project and the size of the injection molding machine needed. Larger parts or multi-cavity molds typically require machines with higher tonnage capabilities. Machine specifications are usually categorized by their maximum tonnage capacity, which affects the selection of machines for specific projects.
The Formula to Calculate Clamping Force
Clamping force is what the machine applies to prevent the mold from being forced open by the pressure of injected plastic. The standard calculation has three parts:
| Standard clamping force formula Clamping Force (tons) = Projected Area (in²) × Material Factor (tons/in²) × Safety Factor • Projected area — the footprint of part + runner at the parting line • Material factor — 2.0 to 5.5 tons/in² depending on resin viscosity • Safety factor — typically 1.10 to 1.15 (10–15% above calculated minimum) |
The physics behind it: during injection, cavity pressure ranges from roughly 5,000 psi for free-flowing resins to over 15,000 psi for stiff ones like polycarbonate. That pressure, acting across the projected area, creates the separating force the clamp must overcome. The material factor packages both the pressure estimate and unit conversion into a single practical number.
How to Calculate the Right Injection Molding Machine Tonnage
Accurate tonnage calculation is essential for achieving high-quality parts in injection molding. To determine the correct tonnage, you need to follow a step-by-step approach that considers various factors affecting your production process.
Step 1: Measure the Projected Area
Projected area is the shadow the part casts on the parting line — not total surface area, just the footprint. For a rectangle: length × width. For a circle: πr². For irregular shapes: use the bounding rectangle and subtract large open cutouts that don’t contribute separating force.
Multi-Cavity and Runner Systems
Multiply the single-part projected area by the number of cavities, then add the runner system. This step is where most quick calculations go wrong:
- Cold runner molds: include the runner projected area — it commonly adds 15–25% to the total.
- Hot runner molds: the manifold is sealed; runners don’t press against a free parting surface. Use cavity area × cavity count only.
| ⚠ Don’t forget the runner system on cold-runner molds.It often adds 15–25% to total projected area — enough to push you into the next machine size. |
Step 2: Choose the Material Factor
The material factor captures how aggressively each resin fills the cavity. High-flow resins at low pressure need a lower factor; stiff, viscous resins need a higher one. Use the table below as a starting point — then adjust up if your walls are thin or your flow paths are long.
| Material or Condition | Flow | Factor (tons/in²) | Notes |
| PP, HDPE, PS | High | 2.0–3.0 | Best flow at lowest pressure — the safest starting point for thin-wall consumer parts. |
| ABS, HIPS, SAN | Medium-High | 2.5–3.5 | Most common range in production. ABS at standard wall: use 2.75 as a default. |
| Nylon (PA6, PA66), POM | Medium | 3.0–4.0 | Good flow but moderately high cavity pressure. Pre-drying affects melt behavior. |
| PC, PC/ABS blend | Medium-Low | 3.5–5.0 | High viscosity, high injection pressure. Optical parts use the upper end. |
| PPS, PEEK | Low | 4.0–5.5 | High-temperature, high-viscosity resins — plan for high cavity pressure. |
| TPU, TPE | Variable | 3.0–4.5 | Depends heavily on Shore hardness and flow path length. |
| Thin walls (< 1.5 mm) | Any | Add +1.0–1.5 | Thin sections freeze faster; higher injection pressure is required to fill. |
Default if you’re unsure: use 3.0 tons/in² for general-purpose materials at standard wall thickness (2–3 mm). It’s the most common value in production and is rarely more than one machine size off.
Step 3: Apply the Safety Factor and Select the Machine
Multiply the result from Steps 1 and 2 by 1.10–1.15. This covers real-world variation: viscosity changes batch to batch, gates wear gradually, mold temperatures drift. The 10–15% margin absorbs those shifts without requiring you to recalculate for every run.
After applying the safety factor, round up to the next standard machine size. Standard increments run roughly: 50T, 100T, 150T, 200T, 250T, 300T, 400T, 500T, 550T, 650T, 800T, 1000T, 1200T, 1500T, 2000T. Never run a mold at or above a machine’s rated tonnage — tie-bar damage and platen wear accelerate rapidly at the rating limit.
Worked Example: ABS Cover, 4 Cavities, Cold Runner
Here’s a complete calculation. Follow it with your own numbers to verify the approach.
| Part: Rectangular cover, 8.0″ × 5.0″, material: ABS Cavities: 4 | Runner system projected area: 3.2 in² Step 1 — Single part area 8.0 × 5.0 = 40.0 in² Step 2 — Total projected area (4 cavities + runner) (40.0 × 4) + 3.2 = 163.2 in² Step 3 — Apply material factor ABS, standard wall → factor 2.75 tons/in² 163.2 × 2.75 = 448.8 tons Step 4 — Apply safety factor 448.8 × 1.15 = 516.1 tons → Select a 550-ton press (next standard size above 516 tons). |
What Happens When Tonnage Is Wrong
Under- and over-tonnage produce different failure modes. Under-tonnage causes immediate, visible defects. Over-tonnage causes slower degradation that compounds over thousands of cycles before it becomes obvious.
| Problem Area | Too Little Tonnage | Too Much Tonnage |
| Flash / parting line | Mold halves forced apart; plastic bleeds out at the parting line. | Vents crushed shut; trapped air scorches plastic. Parting line deforms over time. |
| Part quality | Variable dimensions, short shots, weld-line weakness. | High residual stress, warpage, stress cracking in service. |
| Tooling | Parting line wears from repeated open/reseat cycles. | Crushed vents need remachining; inserts may crack or shift. |
| Machine | Minimal direct damage. | Tie-bar strain, platen wear, elevated energy use per cycle. |
Other Variables That Shift Your Tonnage
The formula gives a solid baseline, but a few design decisions can push the actual requirement meaningfully higher. Know which direction they move before you finalize machine selection.
Thin Walls and Long Flow Paths
Parts with walls under 1.5 mm or flow path-to-thickness ratios above 150:1 require the machine to inject faster, at higher pressure, to fill before freeze-off. Add 1.0–1.5 tons/in² to your base factor. This is already built into the table above, but it’s worth flagging explicitly for thin-wall programs.
Gate Design
Undersized or poorly located gates force higher injection pressure to achieve fill — effectively raising the separating force at the cavity. If a mold filling simulation shows pressure drop exceeding 15,000 psi at the gate, increasing gate size is usually cheaper than upgrading to a larger press.
When to Use Simulation
The formula is accurate enough for machine pre-selection and quoting. For complex or high-value programs — thin walls, unusual geometries, long flow paths, or novel materials — run a mold filling simulation. These tools output maximum cavity pressure directly.
Quick-Reference Checklist
| Four steps to the right machine tonnage Step 1 — Projected area: L × W for the part × number of cavities + runner area Step 2 — Material factor: Use table above; default 3.0 tons/in² if unsure Step 3 — Calculate: Area × Factor = base clamping force (tons) Step 4 — Safety margin: × 1.10–1.15, then round up to next standard machine size Add +1.0–1.5 tons/in² to your factor if: • Wall thickness < 1.5 mm • Flow path > 150 mm (6 in) • Highly viscous resin (PC, PPS, PEEK) • Single small gate on a large or complex part |
How Fecision Handles Machine Tonnage Selection
Fecision’s press fleet runs from 50 to 2,000 tons. Every project starts with a DFM review that includes projected area calculation and machine pre-selection — before tooling cost is committed.
- DFM review: Projected area calculation, factor selection, and initial machine sizing — included with every quote at no charge.
- Mold filling simulation: Moldex3D analysis for complex programs — gives exact cavity pressure, weld line locations, and venting verification.
- Press range: 50 to 2,000 tons. All-electric and hydraulic. Hot runner and cold runner capable.
- Quality: ISO 9001:2015 certified. First-article inspection report with every production release.
The tonnage of an injection molding machine plays a significant role in the quality and profitability of your plastic parts. Proper tonnage calculation is not just a technical detail, but a critical factor in project success. It requires balancing tonnage requirements to avoid issues such as flash and quality problems due to insufficient tonnage, or equipment damage from excessive tonnage.
By following a systematic process, you can determine the right tonnage for your project. Let’s work with Fecision, an experienced injection molding partner, to ensure optimal tonnage selection and successful outcomes for your projects.
Frequently Asked Questions
Does a hot runner system reduce the required tonnage?
Yes. With a hot runner, the runner system has no projected area — the manifold is sealed and doesn’t push against an open parting surface. Use part area × cavity count only, which typically reduces required tonnage 10–20% compared to an equivalent cold-runner design.
Can excessive tonnage cause problems in the injection molding process?
Yes, excessive tonnage can cause issues such as mold damage, increased wear on the machine, and higher energy consumption. It’s essential to calculate the correct tonnage to avoid these problems and ensure optimal production.
How does the number of cavities affect tonnage?
Directly and proportionally. Multiply the single-part projected area by the cavity count, then add the runner system. Four cavities require roughly four times the clamping force of a single-cavity tool, plus runners.
What role does material play in determining the required tonnage?
Different materials have varying viscosities and flow characteristics, which affect the required clamping force. For example, materials with higher viscosities may require higher tonnage to ensure proper mold filling.
Can I run a mold on a press that’s slightly below the calculated tonnage?
No. The calculated tonnage is a minimum. Running at or above a machine’s rated clamp force accelerates tie-bar wear and can damage the platen. Always select the next standard size up from the calculated value.
References
[1] SPI: The Plastics Industry Association — Injection Molding Division. Machine Selection Guidelines. https://www.plasticsindustry.org/
[2] ASTM D1238 — Standard Test Method for Melt Flow Rates of Thermoplastics by Extrusion Plastometer. https://www.astm.org/d1238-23.html