Mold design is super important in making things. It shapes stuff like toys, car parts, or even phone cases. One key part of mold design is the draft angle. But what’s that? Why should you care? This article explains draft angles in easy words. We’ll talk about what they are, why they’re a big deal, how to figure them out, and what makes them tricky. By the end, you’ll know why draft angles help make awesome products. Let’s jump in!
What is a Draft Angle?
A draft angle is a tiny slant on a part’s sides. It helps the part come out of a mold without getting stuck. Think of pulling a popsicle from its mold. If the mold is straight, the popsicle might not budge. A little slant makes it slide out easily. That’s what a draft angle does.
In simple terms, the draft angle is measured in degrees. It’s the tilt between the part’s side and the mold’s wall. Most draft angles are between 0.5 and 3 degrees. The exact number depends on what the part is made of and its shape. The goal is to make sure the part pops out smoothly.
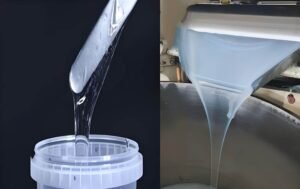
Draft angles are used in lots of molding processes. These include injection molding (for plastics), die casting (for metals), and blow molding (for bottles). It’s a small thing, but it saves big headaches.
Why Draft Angles Matter in Injection Molding
Injection molding makes plastic parts fast. It’s used for things like containers, toys, and gadgets. Draft angles are super important here. Let’s see why.
Easy Part Removal
Draft angles make parts come out of molds easily. Without them, parts can stick like glue. This might break the part of the mold. A little slant reduces rubbing. It lets the part slip out without a fight.
Nicer Surfaces
Draft angles help parts look good. Stuck parts can get scratches or marks. A draft angle cuts down on contact with the mold. This gives parts a smooth, clean look.
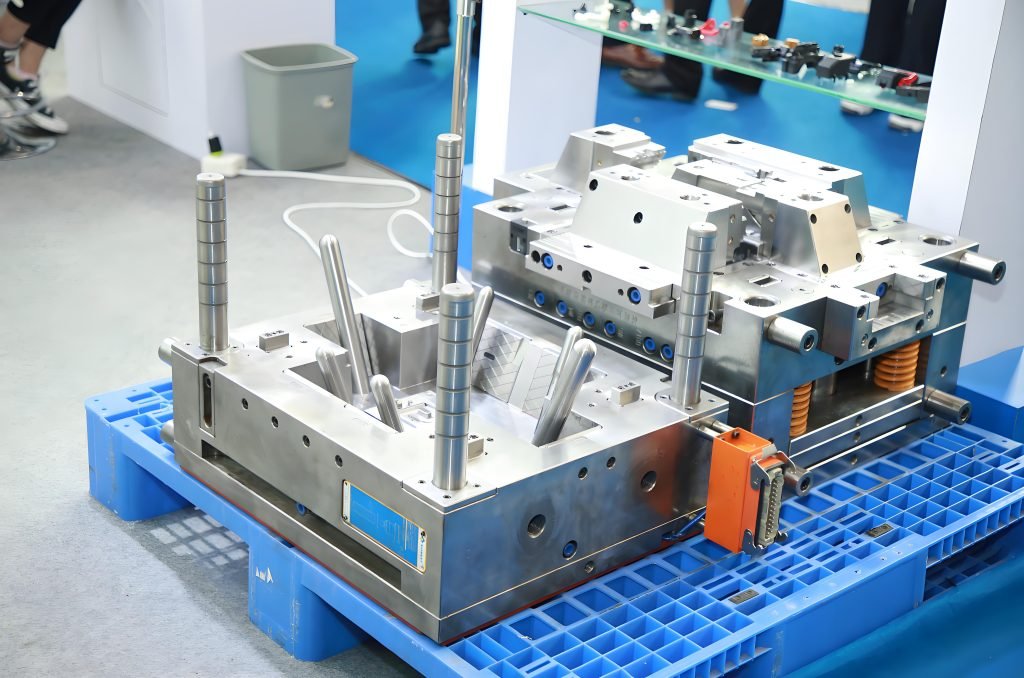
Longer Mold Life
Molds are expensive. Constant rubbing from stuck parts wears them out fast. That means more repairs and costs. A draft angle lowers the stress on the mold. It keeps the mold working longer.
Fewer Mistakes
Stuck parts can bend, crack, or look weird when pulled out. Draft angles stop these problems. They make sure every part comes out perfectly.
In short, draft angles make molding faster, cheaper, and better.
How to Calculate a Draft Angle
Figuring out a draft angle is pretty simple. It depends on the part’s shape and material. Here’s how it’s done.
Easy Formula
The draft angle is measured in degrees. It’s based on how much the part slants over its height. The formula is:
Draft Angle = arctan (d/h)
- d = How much the part slants.
- h = How tall the part’s side is.
For example, if a part slants 0.2 mm over a 20 mm height, you get:
Draft Angle = arctan (0.2/20) = arctan (0.01) ≈ 0.57 degrees
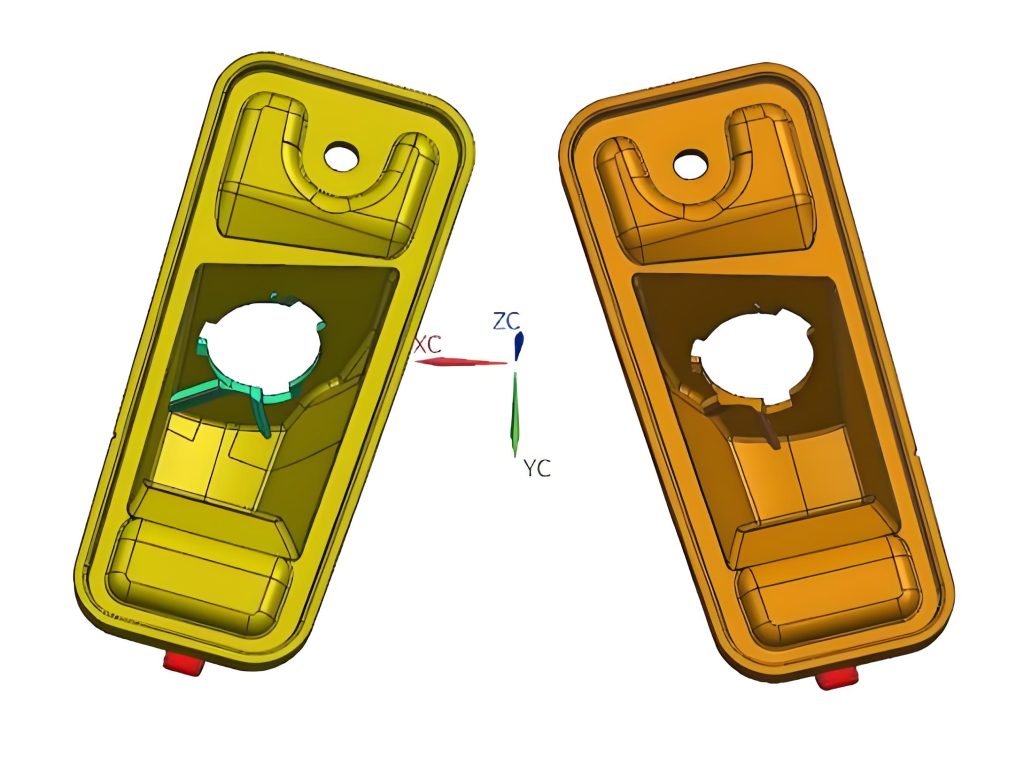
Sounds fancy, but designers use computer programs like CAD to do this. It makes things quick and exact.
Things to Think About
You can’t just pick any angle. Deep parts need bigger angles because they rub more. Rough molds need more slant than smooth ones. Most parts use 1 to 2 degrees. Tricky shapes might need up to 5 degrees. Too much slant can mess up the part’s shape. Too little can make it stick. Testing helps find the right spot.
Things That Affect Draft Angles

Lots of things change what draft angle you need. Knowing them helps you pick the best one. Here’s what matters.
What the Part is Made Of
Different materials act differently. Plastics like ABS shrink a bit when they cool. This affects how they come out of the mold. Sticky stuff like TPE needs bigger angles. Hard stuff like nylon can use smaller ones.
Shape of the Part
The part’s shape is a big deal. Tall or deep parts rub more, so they need bigger angles. Flat or short parts can use smaller ones. Tricky shapes with bumps or cuts need extra thought. They can get stuck if you’re not careful.
Mold Surface
The mold’s surface changes things. Smooth molds let parts slide out easily. They need less slant. Rough or textured molds grab onto parts more. They need bigger angles, like 3 degrees or more.
Mold Material
The stuff the mold is made of matters. Steel molds are tough and smooth. They need fewer drafts. Aluminium molds wear out faster. They might need more slant to stay in good shape.
How Many Parts You’re Making
Making tons of parts wears molds out. Bigger draft angles help the mold last longer. For just a few parts, smaller angles might work. It all depends on the material and shape.
Each of these things needs attention. Ignoring them can cause big problems.
Best Draft Angles for Different Materials
Every material needs its draft angle. Here’s a simple guide based on real-world standards.
ABS (Plastic)
- Draft Angle: 0.5 to 1 degree
- ABS is hard and shrinks a little. It comes out easily with a small angle. Use 1 degree for tall parts or rough molds.
Polypropylene (PP)
- Draft Angle: 1 to 2 degrees
- PP is bendy and a bit sticky. It needs a medium angle. Rough molds might need 3 degrees.
Polycarbonate (PC)
- Draft Angle: 0.5 to 1.5 degrees
- PC is strong but can stick. A slightly bigger angle helps. Tall parts might need 2 degrees.
Nylon
- Draft Angle: 0.5 to 1 degree
- Nylon is tough and slides out well. A small angle is usually enough. Add more for rough molds.
TPE (Rubbery Plastic)
- Draft Angle: 2 to 3 degrees
- TPE is soft and sticky. It needs bigger angles. Very rough molds might need 5 degrees.
Acrylic
- Draft Angle: 0.5 to 1 degree
- Acrylic is hard and scratches easily. A small angle keeps it safe. Use more for textured molds.
Polyethylene (PE)
- Draft Angle: 1 to 2 degrees
- PE is bendy and a bit sticky. A medium angle works. Add more for deeper parts.
Table of Draft Angles
| Material | Smallest Angle | Usual Angle | Notes |
| ABS | 0.5° | 1° | Good for short parts |
| Polypropylene | 1° | 1.5°–2° | More for rough molds |
| Polycarbonate | 0.5° | 1°–1.5° | Tall parts may need 2° |
| Nylon | 0.5° | 1° | Small angle for simple shapes |
| TPE | 2° | 2°–3° | Sticky; needs bigger angles |
| Acrylic | 0.5° | 1° | Stops scratches |
| Polyethylene | 1° | 1°–2° | Adjust for tall parts |
These numbers come from experts. Test them when you make a sample part. Adjust if needed.
Common Problems with Draft Angles
Draft angles can be tricky. Designers run into issues sometimes. Here’s what goes wrong and how to fix it.
Uneven Angles
Some parts have weird shapes. Different sides might need different angles. If the angles aren’t even, the part might stick or twist. Use computer tools to check every side. Make sure all angles are right.
Not Enough Angle
A tiny angle might not be enough. This makes parts stick or break. Always check the material’s needs. If you’re not sure, use a bigger angle. Test early to avoid trouble.
Too Much Angle
Too big an angle can change the part’s shape. For example, a thin wall might get too thin at the top. This can mess up how the part works or looks. Stick to the suggested angles. Test to make sure it’s okay.
Rough Molds
Rough or textured molds hold onto parts tightly. Designers sometimes forget to add an extra angle for this. Add 1–2 degrees for rough surfaces. Heavy textures might need 5 degrees.
Tricky Shapes
Parts with bumps, cuts, or ridges can get stuck. These need special care. Use mold parts that move (like sliders) or add more angles around these spots.
Shrinking Materials
Materials shrink when they cool. This can make parts stick if you don’t plan for it. Check how much the material shrinks. Pick an angle that works with it.
Mold Wear
Making lots of parts wears molds out. Small angles make it worse. Bigger angles help the mold last longer. Think about how many parts you’ll make when choosing angles.
Skipping Tests
Some designers skip testing. They think the angle looks good on paper. But real molds can act differently. Always test with sample parts. Use computer simulations to catch problems early.
To avoid these issues, plan well. Test molds with real parts. Use tools to check your work.
A Final Word
Draft angles are a small but super important part of mold design. They help parts come out easily, keep surfaces smooth, and make molds last longer. Figuring out the right angle means knowing your material and shape. Things like texture, mold material, and how many parts you’re making all matter. Most materials need 0.5 to 3 degrees, but you should always test. Problems like sticking or weird shapes can be fixed with careful planning.
By getting draft angles right, you make better parts faster. You save money and avoid headaches. Whether you’re making cups, car parts, or phone cases, draft angles are key. Take time to plan them well. Your production will run smoothly, and your products will look great.
This guide gives you a clear, simple look at draft angles. Use it to make your mold designs awesome and keep your manufacturing on point.