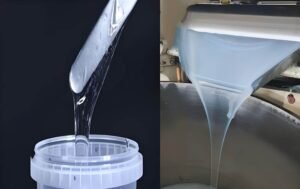
Injection molding is your go-to method for producing reliable parts in large quantities. When properly configured, it lowers labor and per-part costs. Defects or injection molding faults can raise lead times and increase scrap rates. Poor parts lead to customer returns and damage your brand. Numerous flaws can be attributed to problems with the machine, mold, material, or process.
This troubleshooting guide for injection molding outlines common issues and their corresponding solutions. With the help of this injection molding troubleshooting guide, you can confidently identify issues, implement fixes, and cut costs by learning about common defects and how to fix them.
Understanding Common Injection Molding Problems
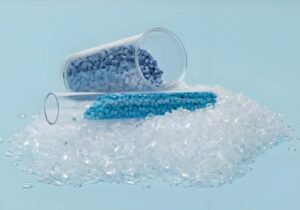
Four factors typically contribute to injection molding defects: material handling, mold condition, machine settings, and process variables, including pressure and temperature. Even small changes in these factors can create noticeable differences in the final part.
Effective problem solving requires a methodical approach to troubleshooting for injection molding process and its underlying causes. Utilize data and basic tests to confirm your assumptions, and document settings and results to create a history that facilitates troubleshooting in the future.
Injection molding problems and solutions:
Below are common injection molding problems and their practical solutions.
1. Short Shots And Solutions
Parts that fall short of filling the mold cavity are referred to as short shots. Short ribs, thin walls, and missing sections are common. This flaw reduces part function and increases scrap when the melt flow stops before reaching all areas of the part.
Causes
Low injection pressure, low melt temperature, and inadequate venting or gate design are the primary causes of short shots. The cavity won’t fill if the resin is too viscous or the pressure is too low. Additionally, air traps within the mold create gaps and block the flow.
Solutions
Short shots can be corrected by gradually increasing the injection pressure and raising the melt temperature to improve resin flow. Enhancing venting and modifying gate design also contribute to the cavity’s uninterrupted full filling.
2. Flash Problems And Solutions
Flash is excess material that leaks through the mold’s vents or parting line. It typically appears on part edges as thin fins or burrs, which lowers part quality and may cause assembly issues.
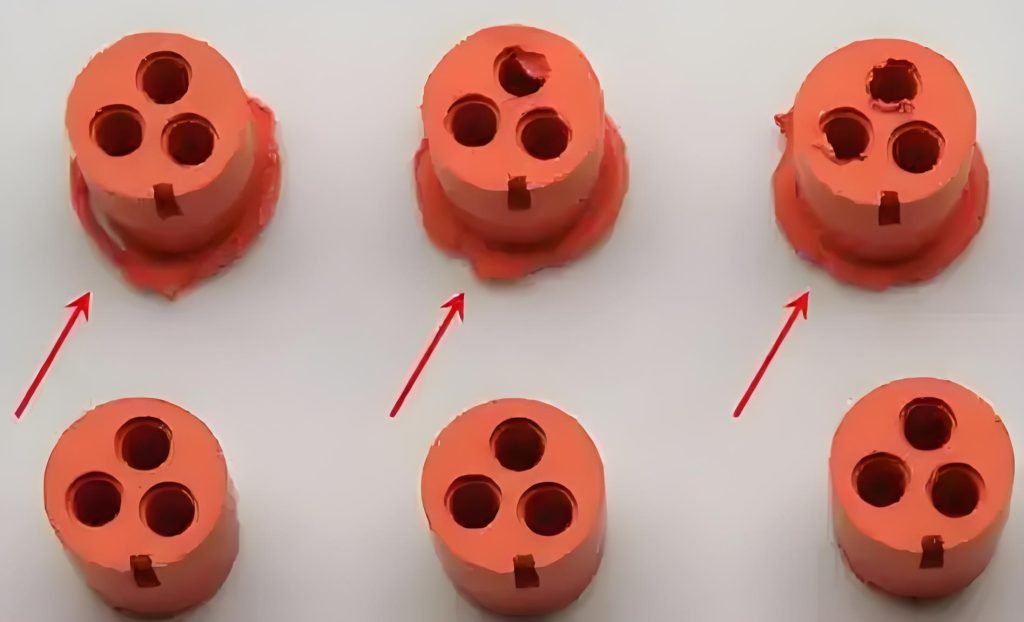
Causes
Low clamping force that permits the mold to open slightly is frequently the cause of flash. Mold surface wear or mismatch also creates gaps where resin can escape. The issue gets worse when material is forced into these gaps by high injection pressure.
Solutions
Increase the clamp force to keep the mold firmly closed under pressure, thereby avoiding flash. To restore a proper surface fit, fix or maintain the mold. Lastly, modify the pressure settings to lessen the excessive force that pushes the material out of the cavity.
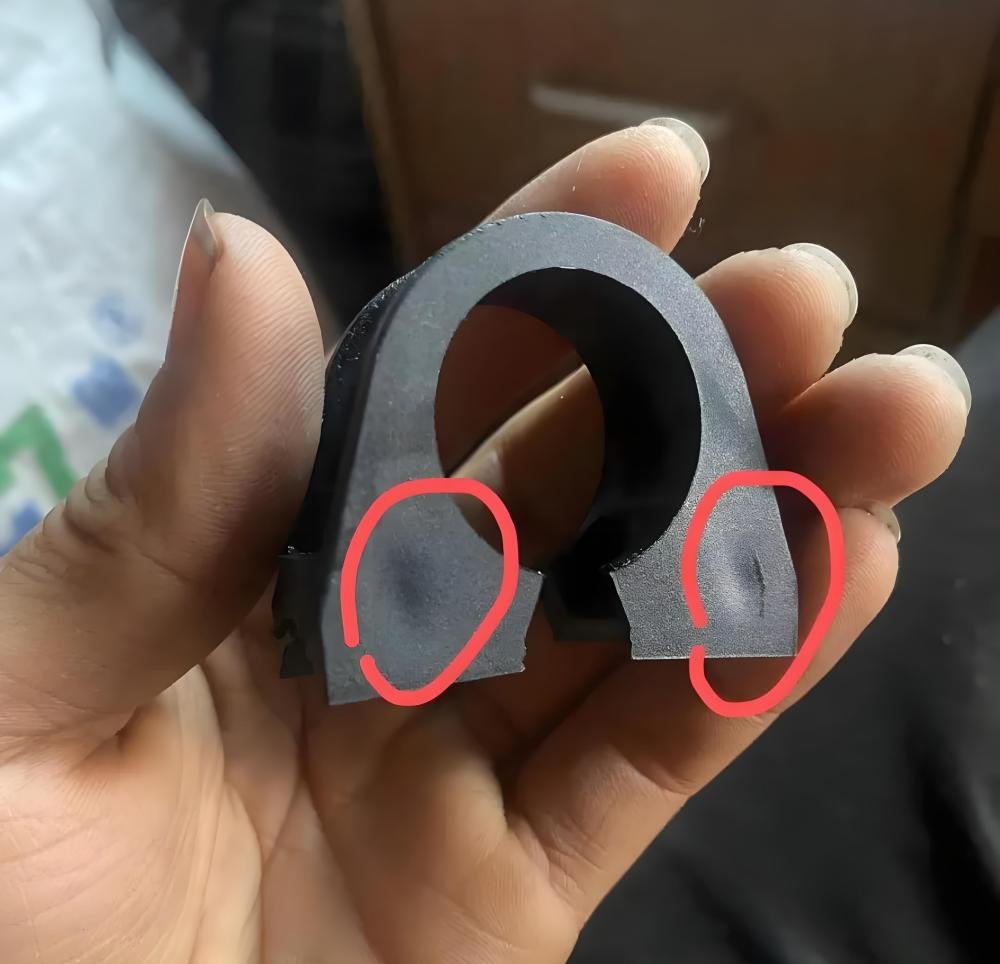
3. Burn Marks And Solutions
Blackened spots or dark streaks on the part surface are called burn marks. They can weaken the part while harming its appearance and are typically found close to gates, thin sections, or vents.
Causes
Trapped air heats and chars the resin, resulting in this flaw. Excessive melt or barrel temperature can also cause it. Extremely high injection speeds cause shear heating and compress trapped gases, which results in burns.
Solutions
By enhancing mold venting to allow trapped air to escape, burn marks can be repaired. Overheating can also be avoided by lowering the melt temperature across barrel zones. Reducing the injection speed lowers the chance of burn marks and helps cut shear.
4. Warpage And Solutions
A distortion defect known as warpage occurs when molded parts twist, bend, or lose their flatness after being ejected from the mold. It happens when the part experiences uneven cooling and shrinkage. The flaw affects fit and assembly, compromises dimensional stability, and frequently requires redesign or rework. Flat panels, housings, and precision mechanical parts are particularly vulnerable to warpage.
Causes
Uneven cooling, uneven wall thickness, and improper packing pressure are the main causes of warpage. Variations in the part’s shrinkage cause stress and distortion.
Solutions
By ensuring the part design has uniform wall thickness, you can minimize warpage. Balanced cooling channels help balanced shrinkage. Adjusting packing pressure and holding time also relieves stress and keeps parts stable.
5. Sink Marks And Solutions
Small surface indentations or depressions known as sink marks develop above thicker wall sections, bosses, or ribs in molded parts. They happen when the surface is pulled inward by localized shrinkage as it cools. Sink marks are primarily a cosmetic defect, but they can also affect assembly tolerances.
Causes
They typically happen when portions of thick walls cool unevenly and shrink more than the surrounding areas. Short holding times and low packing pressure exacerbate the flaw by failing to compensate for shrinkage.
Solutions
By adding ribs to strengthen specific areas or reducing the wall’s thickness, sink marks can be avoided. Reducing shrinkage can also be achieved by increasing packing pressure and extending holding time. Optimizing gate placement ensures that thick regions receive sufficient material for molding.
6. Voids, Bubbles, And Solutions
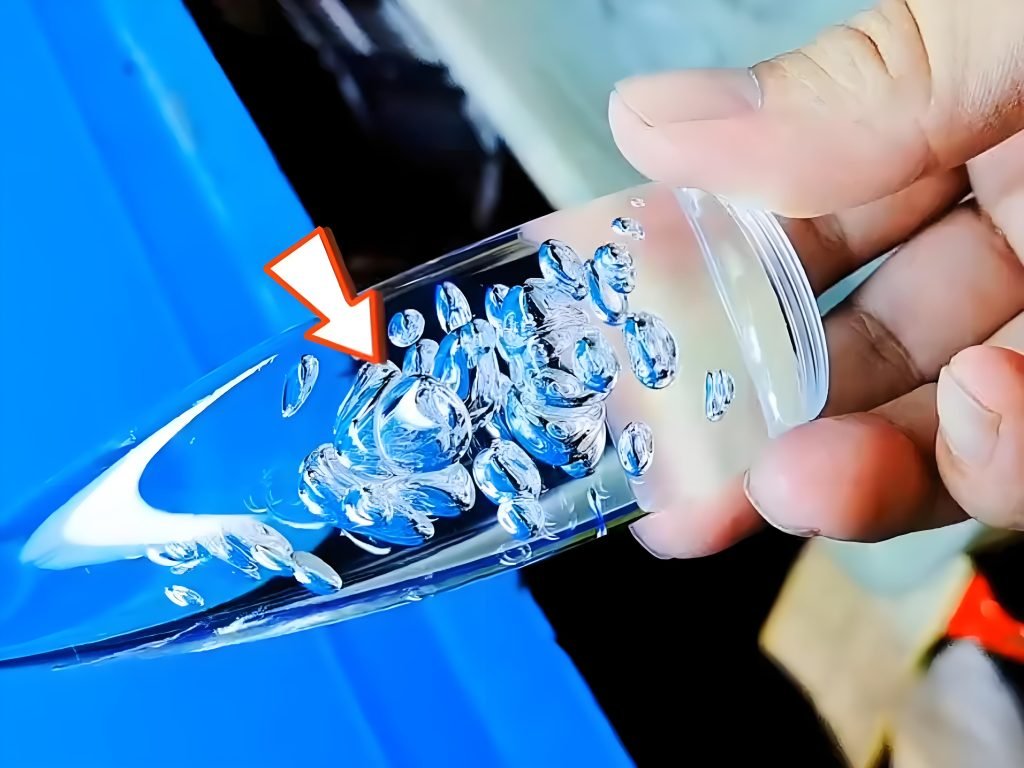
Internal cavities, hollow pockets, or trapped gas bubbles that develop within molded parts are referred to as voids and bubbles. Transparent plastics can make them visible or invisible. These flaws impair the load-bearing capacity, decrease impact resistance, and weaken the part’s strength.
Causes
These flaws are caused by inadequate mold venting, moisture in the resin, or improper packing pressure. During molding, moisture transforms into steam, and the release of low-pressure or trapped gases leaves voids in the material.
Solutions
Dry materials completely before molding to eliminate moisture and repair voids and bubbles. To release gases, upgrade the venting locations and channels. To compress internal voids and ensure solid parts, increase holding time, and modify packing pressure.
Conclusion
Reducing waste and enhancing part quality requires an understanding of defects in injection molding and their troubleshooting. You can reduce expenses, shorten lead times, and maintain production consistency by methodically troubleshooting defects. Problems are frequently resolved before they worsen with small changes to the temperature, pressure, cooling, or venting.
When you take the proper approach, you can transform obstacles into chances for increased dependability and efficiency. Fecision provides professional injection molding services designed to produce accurate, long-lasting, and cost-effective parts for your projects when you require expert assistance.