Punch and die clearance is a big deal when you’re cutting metal. It decides if your parts come out nice or messy. Get it wrong, and you’ll have rough edges or broken tools. This guide explains what clearance is, why it matters, and how to figure it out. We’ll talk about what affects clearance, how to tweak it for special jobs, and why doing it right saves you time and cash. By the end, you’ll know how to punch metal like a champ.
What is Punch and Die Clearance?
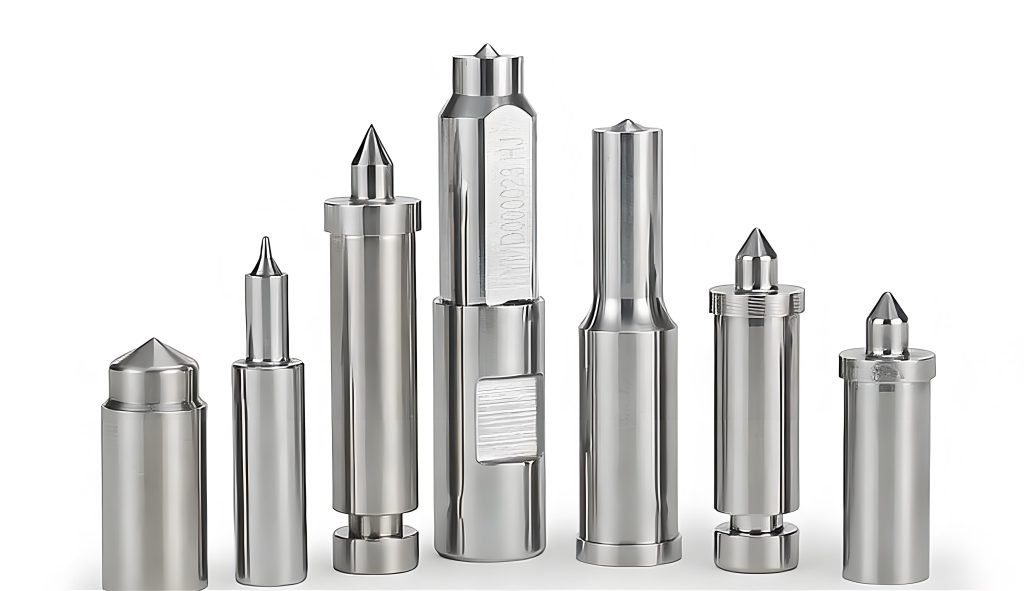
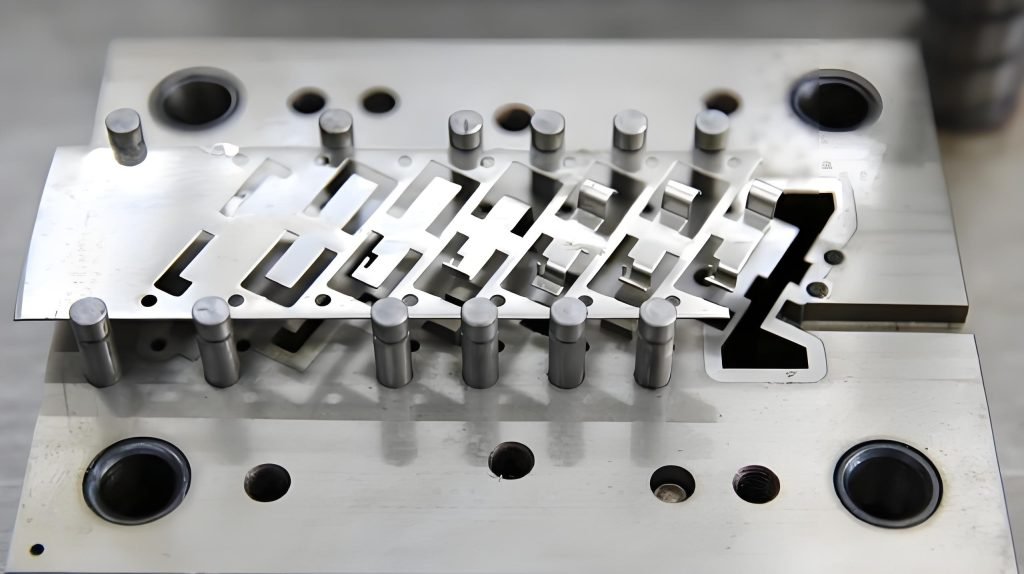
Clearance between punch and die Punch and die clearance is the tiny gap between the punch and the die of a punching machine. The metal cutting tool is known as the punch. Die is the mold that gives shape to the hole. The small gap between them is called clearance; this is normally a small fraction of the thickness of the metal.
As an example, suppose that you have a metal 2 mm thick so that the clearance could be 0.2 mm on both sides. This stock ensures that there is a clean cut and safety of the tools. Good clearance will provide you with smoother edges and longer-lived tools and will provide you with better parts. The conservative clearances result in rough edges. The lack of it may break the tools or crack a metal.
Things That Affect Punch and Die Clearance
Lots of stuff decides the best clearance for punching. Knowing these helps you pick the right gap. Here’s what to think about:
1. Kind of Metal
Different metals need different gaps. Soft ones like aluminium or copper need small gaps, about 5-10% of the thickness. Hard metals like stainless steel need bigger gaps, like 15-25%. Hard metals fight cutting more.
2. How Thick the Metal Is
Thicker metal needs a bigger gap. Thin metal needs a smaller one. For example, a 1 mm sheet might need a 0.1 mm gap, but a 5 mm sheet could need 0.5 mm. Thicker metal takes more force to cut, so the gap has to match.
3. How Fast You Punch
Punching fast might need a bigger gap. Fast punches create heat and stress. A bigger gap cuts down on rubbing and keeps tools safe.
4. Shape of the Tools
The shape of the punch and die matters. Simple round holes can use normal gaps. Weird shapes, like stars or slots, might need special gaps. Fancy designs need more testing.
5. How Hard the Metal Is
Hard metals like steel don’t bend easily. They need bigger gaps for clean cuts. Soft metals bend easily, so smaller gaps work fine.
6. What the Edges Should Look Like
Want super smooth edges? Use a small gap. If you care more about speed than perfect edges, a bigger gap might be okay. Your job’s goals decide this.
7. Tool Wear
Old or worn tools can mess up the gap. As tools wear out, the gap might get too big. Checking tools often keep things working right.
Thinking about these things helps you set the perfect gap. It makes your parts better, and your tools last longer.
How to Figure Out Punch and Die Clearance
Figuring out clearance is easy with a simple math trick. It’s based on the metal’s thickness and percentage. Here’s the trick:
Gap per side = Metal Thickness × Gap Percentage
Important Stuff:
- Gap Percentage: This depends on the metal. For example:
- Aluminium or copper: 5-10% per side
- Mild steel: 10-15% per side
- Stainless steel: 15-25% per side
- Total Gap: Multiply the per-side gap by 2 to get the full gap.
- Example: For a 3 mm thick mild steel sheet with 12% gap:
- Gap per side = 3 mm × 0.12 = 0.36 mm
- Total gap = 0.36 mm × 2 = 0.72 mm
This math trick makes sure your gap fits the job. Check with industry guides for your metal to be sure.
Steps to Get the Right Clearance
Follow these easy steps to get the perfect clearance. They make sure your cuts are clean, and your tools stay safe.
Step 1: Know Your Metal
Figure out what metal you’re cutting. Is it aluminium, steel, or something else? Check how hard it is and how it acts when cut. This picks the gap percentage.
Step 2: Measure the Metal
Take a device such as a caliper to get the measurement of the thickness of the metal. And be very precise, since minor errors may ruin everything. A 1.5mm sheet requires a different gap as 1 mm one.
Step 3: Pick the Gap Percentage
Look up the right percentage for your metal. Here’s a guide:
- Soft metals (aluminium, copper): 5-10% per side
- Mild steel: 10-15% per side
- Hard metals (stainless steel): 15-25% per side
- If you’re not sure, check a chart or ask someone who knows.
Step 4: Do the Math
Use the trick: Gap per side = Metal Thickness × Gap Percentage. Figure out the gap for one side, then double it for the total gap.
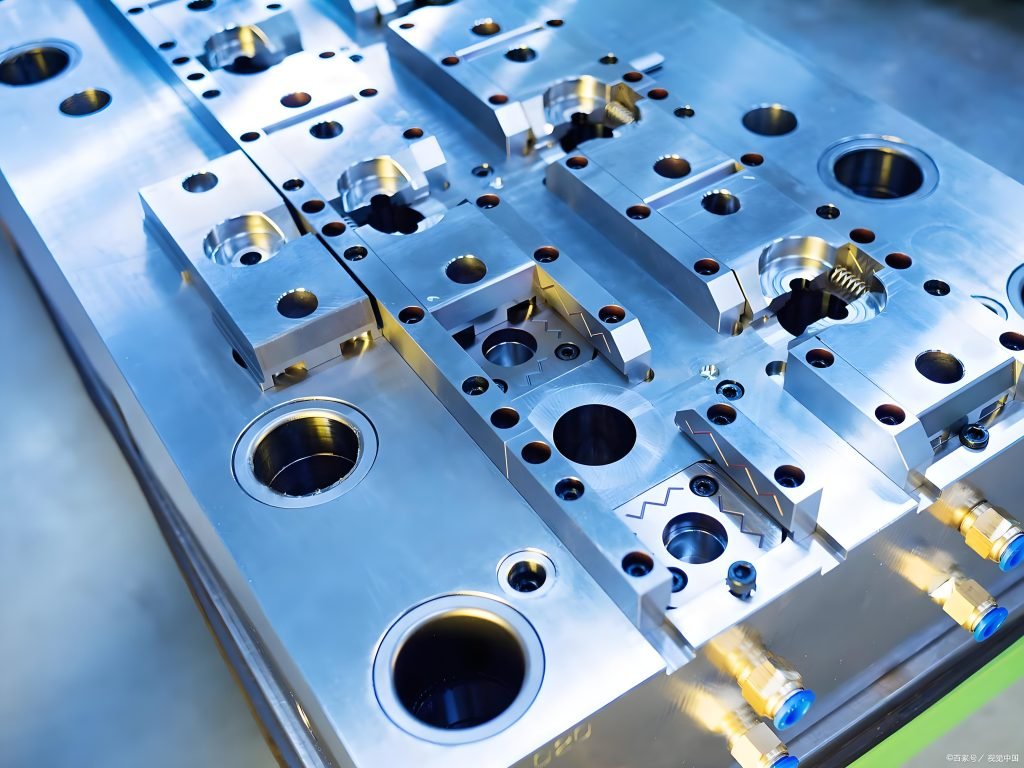
Step 5: Check Your Tools
Make sure your punch and die can handle the gap. Look at their size, shape, and condition. Worn tools might need a bigger gap or fixing.
Step 6: Try a Test
Punch a test piece on scrap metal. Check the edges. Are there rough spots or cracks? If it’s not good, tweak the gap a bit and try again.
Step 7: Check Again
When the test looks good, measure the hole. Make sure it fits your needs. If it’s off, adjust and test again until it’s perfect.
These steps make sure your gap is just right for awesome results.
Why Getting Clearance Right Matters
The right clearance makes a huge difference. It affects your parts, tools, and wallet. Here’s why it’s a big deal:
1. Nicer Edges
The right gap gives you smooth, clean edges. This means less extra work to fix parts. It saves you time and effort.
2. Tools Last Longer
A good gap reduces stress on the punch and die. Less wear means tools keep working for ages. This saves money on new tools.
3. Less Wasted Metal
Wrong gaps cause rough edges, cracks, or bad cuts. That means throwing out parts. The right gap makes more parts usable, saving metal.
4. Safer Work
Too little gap puts too much force on tools. This can break them or jam the machine. A good gap keeps things safe for workers and gear.
5. Faster Work
With the right gap, punching goes smoothly. You get steady cuts without stopping to fix stuff. This makes your work faster.
6. Meets Tough Rules
Jobs like cars or planes have strict part rules. The right gap makes sure your parts pass checks and don’t get rejected.
7. Saves Cash
Good gaps cut down on tool fixes, wasted metal, and extra work. This keeps your costs low and your profits up.
Messing up clearance leads to bad parts and more expenses. Taking time to get it right is worth it.
Tweaking Clearance for Special Tools
Sometimes, you need special tools for unique jobs. Normal gaps might not work. Here’s how to tweak gaps for custom punches and dies:
1. Know Your Job
Understand what the part is for. Does it need perfect edges? Is speed more important? Your goals decide the gap.
2. Check Metal Info
For weird metals, look up their info sheets. This list suggested gaps. If you can’t find the info, start with a normal gap and test.
3. Think About Tool Shape
Fancy shapes like gears or odd patterns need special gaps. Simple circles can use normal gaps. Test weird shapes carefully.
4. Look at Tool Coatings
Some tools have coatings to reduce rubbing. These might let you use a smaller gap. Ask the tool maker for tips.
5. Know Your Machine
High-tech machines can handle tight gaps. Older ones might need bigger gaps to stay accurate. Check what your gear can do.
6. Test in Tiny Steps
Start with a normal gap. Change it by 1-2% at a time. Punch a test piece and check it. Keep tweaking until it’s perfect.
7. Write It Down
Note the gap, metal, and results for each job. This helps you do the same thing again for future jobs.
8. Talk to Pros
If you’re stuck, ask tool designers or metal experts. They can suggest gaps for tricky jobs.
9. Use Scrap for Tests
Always test on scrap metal first. This saves good metal if the gap’s wrong.
10. Be Patient
Custom jobs take time to get right. Don’t rush. Test and tweak until the parts are perfect.
Special setups need extra work, but they make your unique jobs turn out great.
Common Goof-Ups to Avoid
Even pros can mess up clearance. Here’s what to watch out for and how to avoid it:
1. Guessing the Gap
Don’t just pick a number. Always calculate based on metal and thickness. Guessing makes bad cuts.
2. Forgetting Tool Wear
Worn tools change the gap over time. Check tools often and fix or replace them.
3. Skipping Tests
Always test on a scrap first. Starting with real parts can waste metal if the gap’s off.
4. Using the Same Gap for Everything
Every metal and thickness needs its gap. Don’t use one gap for all jobs.
5. Ignoring Machine Care
Dirty or wobbly machines mess up gaps. Keep gear clean and checked.
Avoiding these mistakes keeps your punching smooth and saves you money.
A Final Word
Punch and die clearance is the key to awesome metal punching. It affects how good your parts are, how long your tools last, and how much you spend. By understanding clearance and what changes it, you can make smart choices. Use the easy math trick and steps to get the right gap. Think about your metal, its thickness, and what your job needs. For special tools, test and tweak carefully. Cleaning up first saves metal, makes things safer and makes parts that survive tough checks. When you have this guide, you can punch metal as a pro and get fantastic results all the time.