Injection molding is a practical manufacturing process that enables industrial mass production of plastic parts with minimal waste. The process begins by injecting molten materials into a mold to produce identical entities. This technique is widely utilized in automotive, medical, and other industries, using materials such as thermoplastics and thermosetting polymers. However, to ensure a streamlined molding process, it is crucial to understand the design and placement of the sprue carefully.
The article provides a comprehensive overview of injection mold sprue, mold parts, and some key considerations when designing and using sprues.
What is Sprue in Injection Molding
The pouring design of molds includes an inlet through which plastic, injected from the machine nozzle, enters the cavity. It has a sprue, runners, gates, and cold wells. To achieve structured parts, it ensures an orderly filling of molten plastic, applying injection pressure during both filling and solidification.
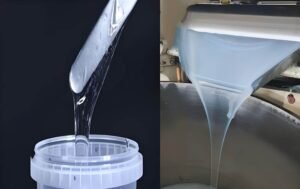
A sprue is a vertical passage that connects the injection unit of molding machine to the mold cavity. Specifically, the mold sprue is the access point, where plastic rushes through into runners and gates. This entire feed system is often referred to as the sprue. Thus, the molded parts and the connecting plastic cool and solidify inside the sprue and runners.
Importance of Sprue Injection Molding
There are several advantages to the use of an injection molding sprue in the injection molding process. They act as a molten plastic distribution pathway, evenly filling every part of the mold. Likewise, uniform pressure is applied during the injection phase for a defect-free final product. Intending to minimize material waste, it provides high-quality plastic parts.
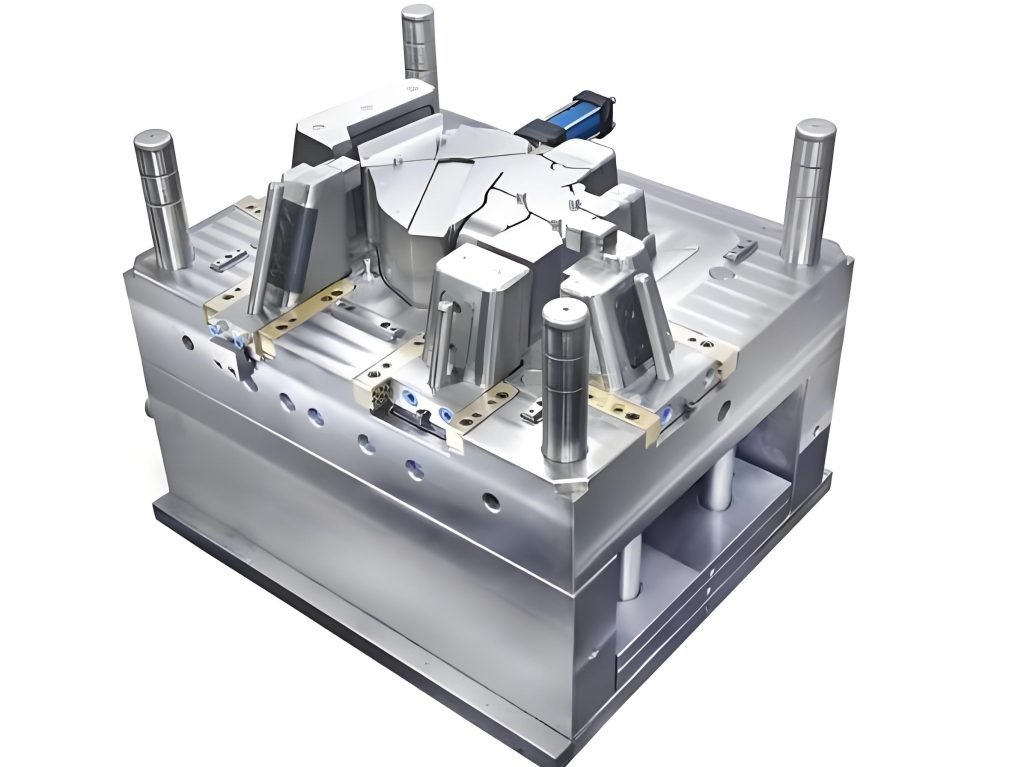
Mold Components
Let’s delve into the complex structure and components of injection molds.
Base structures
With advanced technological innovations, the mold base manufacturing industry is continuously evolving. The mold base serves as the semi-finished structure of a mold, comprising various steel plates and components. All combined assembly forms the mold set framework.
A standard configuration includes the clamp plate, A plate, B plate, C plate or spacer block, rear clamp plate, ejector retainer plate, and ejector plate.
Types of Injection Molds
There are three types of injection molds. The two-plate mold is its most widely used type. A parting line separates the mold core from the mold cavity. Likewise, the three-plate mold divides into three parts, with an additional stripper plate.
It has pinpoint gates with a complex framework. Lastly, the hot runner mold combines the functionalities of both molds. It helps inject molten plastic from any point within the cavity, reducing the molding cycle.
Types of Sprue in Injection Molding
Below are two core forms of sprue in injection molding:
Hot Sprue
A hot sprue applies a heated sprue and runner system. The high temperature makes the uniform flow of molten plastic through the cavity. It helps stop issues in flow lines, suitable for various materials. However, it requires increased energy consumption.
Cold Sprue
In cold sprue, the sprue and runner system work at room temperature during the injection process. When the channel is not preheated, the plastic cools as it flows through the mold cavity. This process leads to cost savings, but it also results in defects in some molded parts.
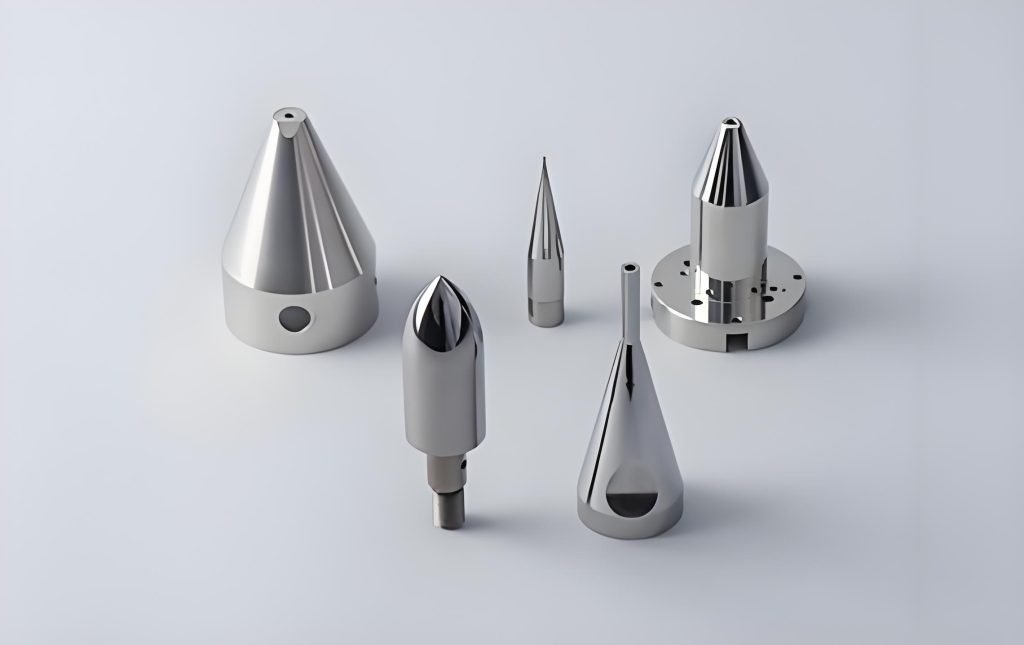
Technical Parts of Injection Molding Sprue
Here are some key technical parts of an injection sprue mold:
Sprue Design
The sprue is designed to be tapered or conical to ease shear stress and reduce pressure on the semi-finished product. Another consideration is the channel design that allows the molten material to flow smoothly into the mold cavity.
Material
The sprue material should be compatible with the molding material to prevent unwanted interactions. Sprues are usually made of aluminium or steel. Compatible molding materials include metals, elastomers, glasses, confections, thermoplastic and thermosetting polymers.
Length
The sprue length should be as short as possible; otherwise, the condensate in the sprue will increase. The increased pressure loss will cause the molten plastic to cool rapidly, which in turn affects the entire injection molding process.
Placement
The sprue placement ensures uniform flow of molten plastic into the mold cavity, filling all parts. Typically, the sprue is placed at the thickest part to fill the cavity effectively. It helps minimize potential defects, such as voids, sink marks, and warpages.
Nozzle Alignment
The sprue should be tightly linked to the nozzle of the injection molding machine along the sprue joint, aligned into a hemispherical pit. It helps molten plastic flow through the injection mold sprue without overflowing.
Bushing Hole
The diameter of the sprue bushing must be 0.5 mm bigger than the diameter of the machine nozzle. Remember to check the nozzle’s SR against the given specifications. Therefore, if the nozzle diameter is 4mm, the sprue must have a diameter of at least 4mm.
Key Steps for Using Sprue in Injection Molding
Now, let’s explore the exact method of utilizing a sprue in the injection molding process.
Setup and Positioning
Before the injection molding process begins, you must inspect the entire setup. The mold should be entirely clean, aligned precisely, and clamped in position. Ensure the sprue is connected to the mold in the correct placement.
Material Injection
After mold setup, the injection molding process begins. Inject molten material into the mold cavity with a sprue. The injection unit pushes the molten material under high pressure and temperature, providing the desired shape.
Cooling Process
After filling the cavity with material, the cooling process of the mold solidifies the material. To produce shapes of differing sizes, the machine complexity and the directed cooling time range from a few seconds to minutes.
Ejecting Solid Part
Once the plastic part has cooled and solidified, you need to eject the finished part. The leftover material is trimmed off before it is prepared for use. The sprue is located at the edge of the final product and trimmed off with a cutting device.
Clean and Reset Cycle
After removing the finished product, the mold is cleaned and prepared for the next cycle. It includes removing any extra material or residue while ensuring sprue positioning for the next injection cycle.
Challenges and Issues with Sprues
To conclude, let’s discuss typical challenges and issues in sprue design and its process:
Sprue Freezing
The molten plastic undergoes premature solidification within the sprue channel before it fills the mold cavity. It can lead to different issues, such as unfinished molten parts, decreased cut quality, and more material waste.
Sprue-related Defects
Placing the sprue in the wrong place can affect the quality of the injection molded part. Air pockets are created if the sprue is placed too far from the thick sections.
But when it is located too close to thin sections, it causes surface depressions. Overheating of the sprue bushing or incorrect sprue design can lead to stringing or drooling.
Pressure Drops and Waste
If the sprue size is too small, it results in an increased pressure drop, allowing parts to cool and solidify prematurely. Likewise, if the sprue is too big, it can improve process time and material waste. To avoid this, you should optimize the sprue design according to the material, design, and other relevant parameters.
Conclusion
Understanding sprue in injection molding is necessary for optimizing the molding process and ensuring the production of high-quality finished parts. You must choose the right sprue type, set the proper location, size, length, and shape of the sprue. By carefully developing and balancing the sprue system, industrials can improve efficiency, reduce material waste, and minimize part defects.
If you have queries related to sprue in injection molding, contact us today. Get started directly and request a quote now at Fecision.