Have you ever wondered how an injection mold is made? If you’re new to the process, it may seem complex, but understanding the key steps can make it much easier. An injection mold is a custom-made tool designed to shape molten plastic into precise and repeatable parts.
If you want to make one by yourself, you need to plan everything carefully and use the proper material to get high-quality results.
So, in this guide, we’ll walk you through the entire mold-making process, from design to materials to manufacturing. Let’s get started.
What is an Injection Mold?
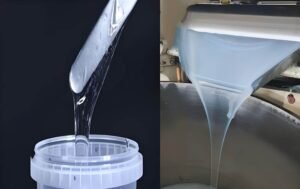
An injection mold is a custom-designed tool used in injection molding, a process that produces large quantities of plastic, metal, or rubber parts. Once cooled and solidified, it acts as a mold cavity, shaping molten material into a precise and repeatable form.
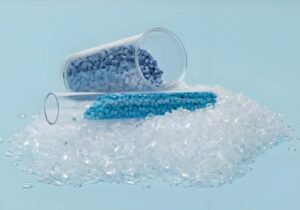
Injection molds are made from hardened steel, aluminum, or beryllium-copper alloy, depending on the production volume and material requirements.
This mold consists of two main halves—the core and cavity—which clamp together inside an injection molding machine. When molten material is injected, it fills the mold, cools, and forms the final part.
How to Make an Injection Mold? Step-by-Step Guide
Creating an injection mold is a sophisticated process that requires precision, expertise, and the right materials. The process involves two key stages: design considerations and manufacturing. Let’s go through each step in detail.
1. Design Considerations
Before manufacturing, the mold must be precisely designed to ensure efficiency, durability, and smooth production. A poorly designed mold can lead to defects, increased costs, and wasted materials.
The key factors in mold design include:
- Part Geometry & Complexity: The shape, size, and features of the part determine the mold’s structure. Thicker parts take longer to cool, while sharp edges may require special finishing.
- Mold Type: Depending on the production volume, you can choose between a single-cavity mold (which produces one part per cycle) and a multi-cavity mold (which produces multiple parts at once).
- Runner System: This is the pathway that directs molten material into the mold cavity. A hot runner system eliminates waste, while a cold runner system is cheaper but produces extra plastic scrap.
- Cooling System: Proper cooling is crucial to prevent warping and shrinkage. Channels inside the mold circulate water or coolant to regulate temperature.
- Ejection System: Once the part is formed, it must be ejected smoothly from the mold. Ejector pins, plates, or sleeves are built into the mold to push out the final part without damage.
Once the design is finalized, the physical mold is created using precision machining techniques.
2. Creating the Digital Mold Design with CAD Software
CAD software like SolidWorks, AutoCAD, or CATIA allows engineers to visualize, analyze, and modify the mold design before physical production begins. This helps in:
- Ensuring accurate part dimensions
- Predicting material flow and cooling behavior
- Identifying potential weak points or defects
You can start by importing the 3D model of the final product into CAD software. Then, analyze the shape, wall thickness, sharp edges, and undercuts to ensure smooth material flow.
This software will help you determine whether to use steel (for high-volume production) or aluminum (for short-run, lower-cost production). Steel molds could be a little more expensive if you’re looking for a budget-friendly option but it lasts millions of cycles, which eventually makes it cost-effective.
3. Mold Manufacturing Process
It’s time to bring this mold to life through high-precision manufacturing. The procedure involves curing, shaping, and refining the mold components. Let’s discuss it step by step.
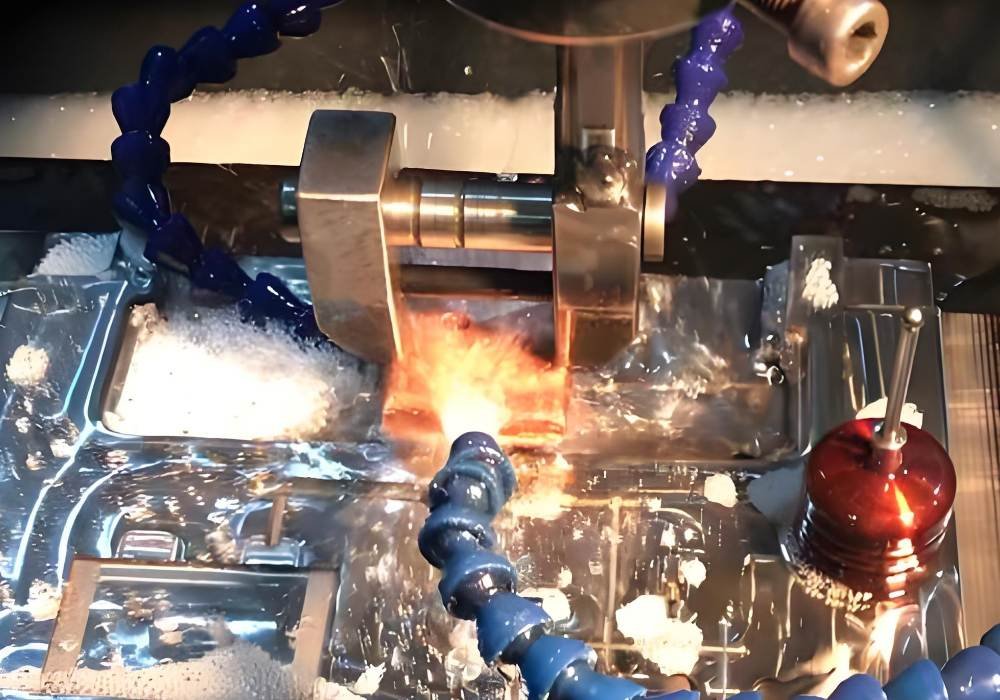
Step 1: CNC Machining (Rough Shaping the Mold)
CNC (Computer Numerical Control) machining is the first step in making a mold. Here’s how it works:
- A metal block (steel or aluminum) is loaded into a CNC machine.
- High-speed milling, drilling, and cutting tools remove excess material and shape the mold cavity.
- This process ensures precision and consistency, making sure the mold matches the CAD (Computer-Aided Design) blueprint with pinpoint accuracy.
CNC machining lays the foundation, but finer details require additional processing.
Step 2: Electrical Discharge Machining (EDM) for Fine Details
Some features, like sharp corners, deep cavities, or intricate textures, cannot be achieved through standard cutting tools. This is where EDM (Electrical Discharge Machining) comes in.
EDM uses electrical sparks to remove material, which allows for high-precision engraving and complex details.
It’s commonly used for logos, textured finishes, and intricate design features. EDM ensures that even the most complex mold designs are executed with perfection.
Step 3: Heat Treatment for Strength & Durability
Once the mold has been shaped, it must be hardened to withstand high-pressure injection molding cycles. To do this, steel molds undergo heat treatment (tempering and hardening) to increase durability and resistance to wear.
This step is critical for molds used in high-volume manufacturing, as it prevents deformation over time. A hardened mold lasts for millions of production cycles and reduces long-term costs.
Step 4: Polishing & Surface Finishing
The mold must also be polished to achieve the desired texture and quality.
- Fine sanding and grinding tools smooth the mold’s interior surface.
- Difference finishes—matte, glossy, or textured—can be applied depending on product requirements.
- A polished mold ensures that final parts eject easily without defects like drag marks or rough textures.
This step improves the quality of mold and eventually the product.
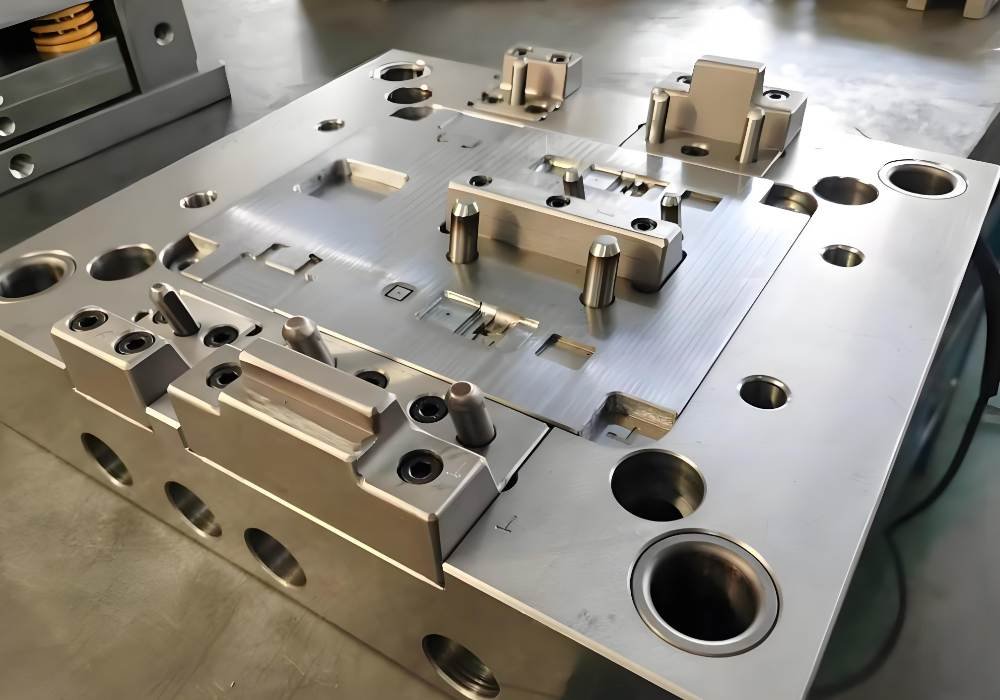
Step 5: Assembly & Final Testing
With the mold components prepared, it’s time to put them together and test their performance. Here’s what to do next:
- Core and cavity halves are aligned and fitted together.
- The runner system, ejector mechanism, and cooling channels are checked for proper function.
- Then the mold is mounted onto the injection molding machine for a trial run.
- In the end, test parts are produced to check for defects, misalignment, or cooling issues.
If you find any problems, you need to make some adjustments to optimize the mold for mass production.
Common Defects in Injection Molding and How to Prevent Them
Below are the three most common injection molding defects and methods used to prevent them.
1. Warping — Parts Bend or Twist After Cooling
Warping happens when different areas of a molded part cool and shrink at different rates. It causes parts to bend, twist, or deform instead of staying in their intended shape.
To prevent it:
- Ensure that the mold has proper cooling channels for even temperature distribution.
- Reduce injection pressure and optimize temperature settings.
2. Flash – Thin Extra Material on the Edges of the Part
Flash is the excess thin layer of plastic that appears along a part’s edges or seams. It happens when molten plastic leaks out of the mold cavity during injection.
To prevent it:
- Regularly inspect and maintain mold seals to ensure proper closure.
- Reduce injection pressure to avoid excess force on the mold.
3. Short Shots – Incomplete Filling of the Mold Cavity
A short shot occurs when molten plastic does not completely fill the mold cavity. This leads to missing sections or incomplete parts. It occurs because of improper material flow, insufficient injection pressure, or obstructed mold gates.
To prevent it:
- Increase injection pressure and temperature to ensure full cavity filling.
- Use low-viscosity plastics that flow easily into the mold.
Bring Your Product to Life with Injection Molds
A perfect mold is important to ensure high-quality, repeatable, and cost-effective production. Whether you’re making automotive parts, medical devices, consumer goods, or industrial components, a well-designed mold is the foundation of a successful product.
However, you don’t need to make one from scratch; we’re here to help. We specialize in custom mold manufacturing, CNC machining, and molding services.
Contact us today to discuss how we can support your manufacturing process based on our precision injection mold tooling techniques and help you bring your product to life.